
Last updated September 10, 2026
Full 25-point door and opener safety check with every visit - springs, cables, rollers, tracks, and your LiftMaster or Chamberlain opener included
You get a price before we start. It does not change when the truck arrives.
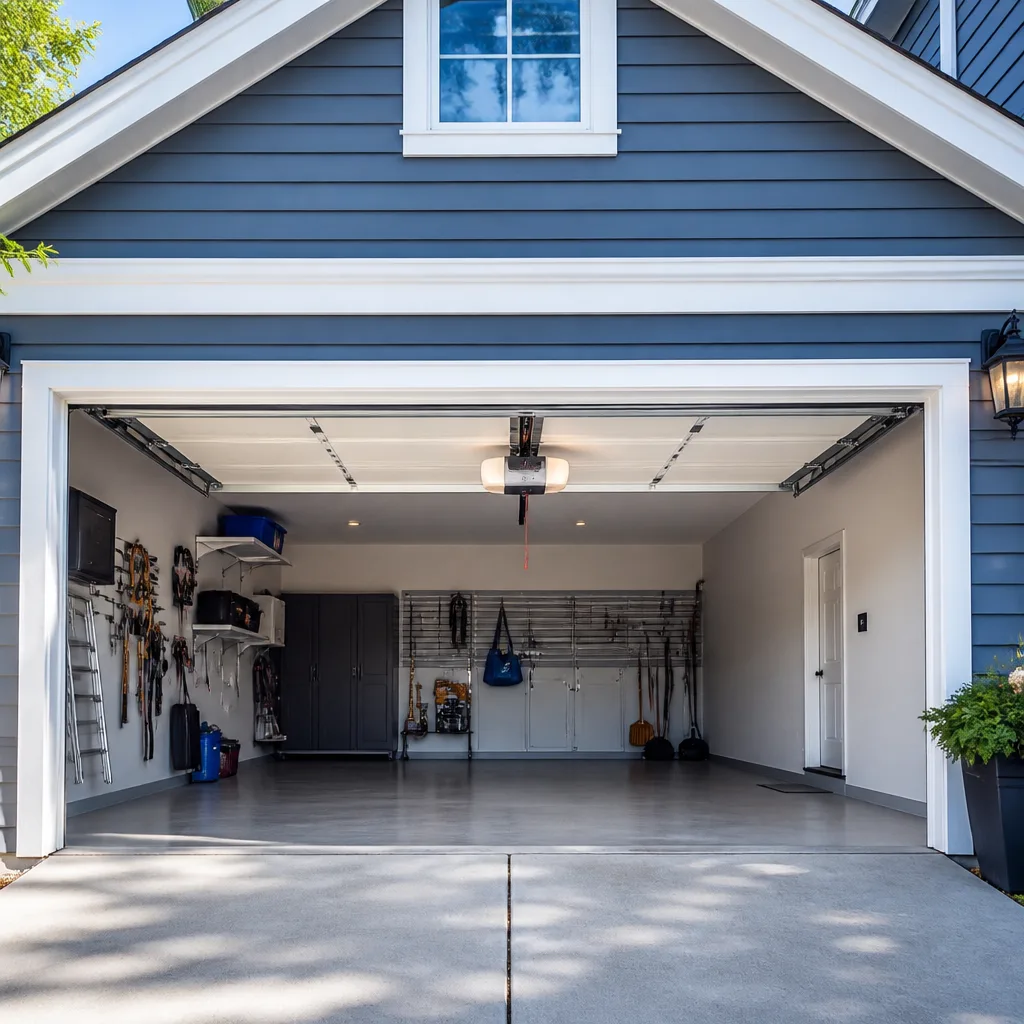
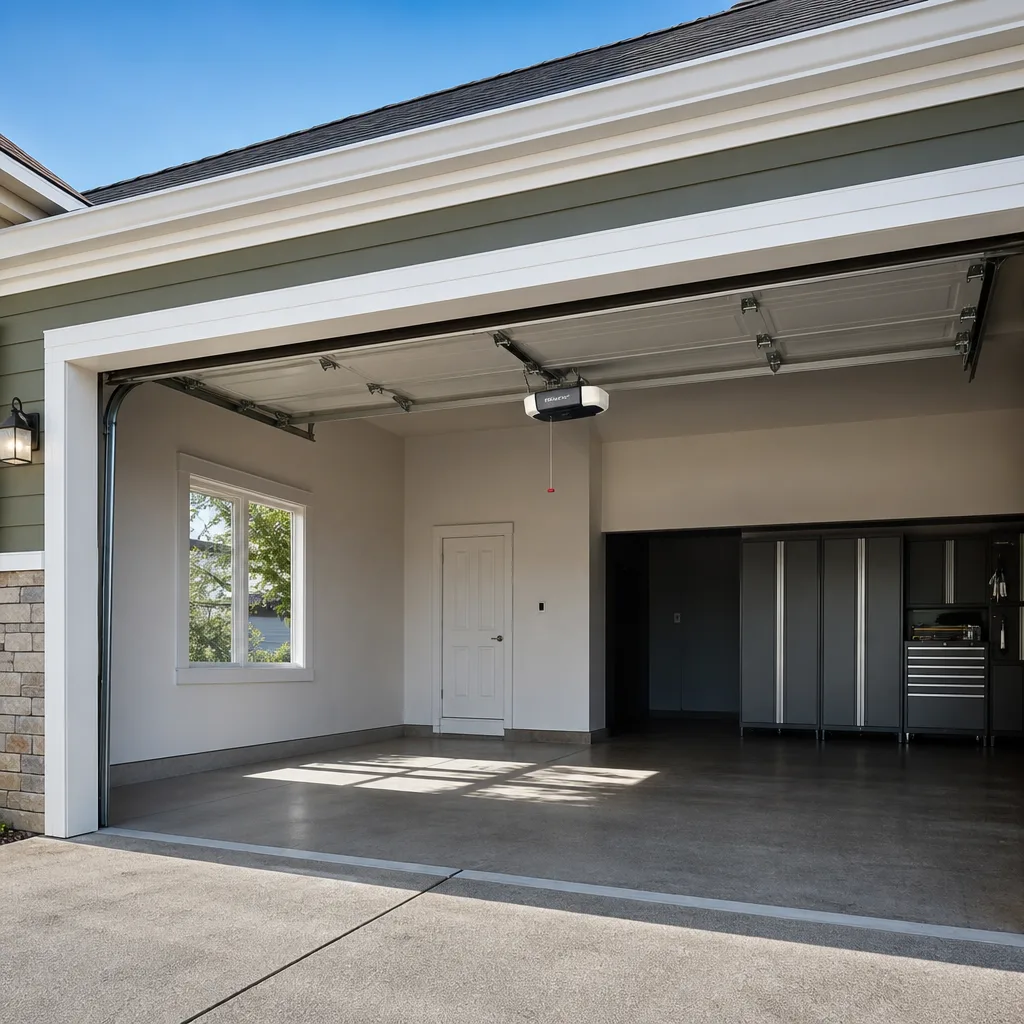
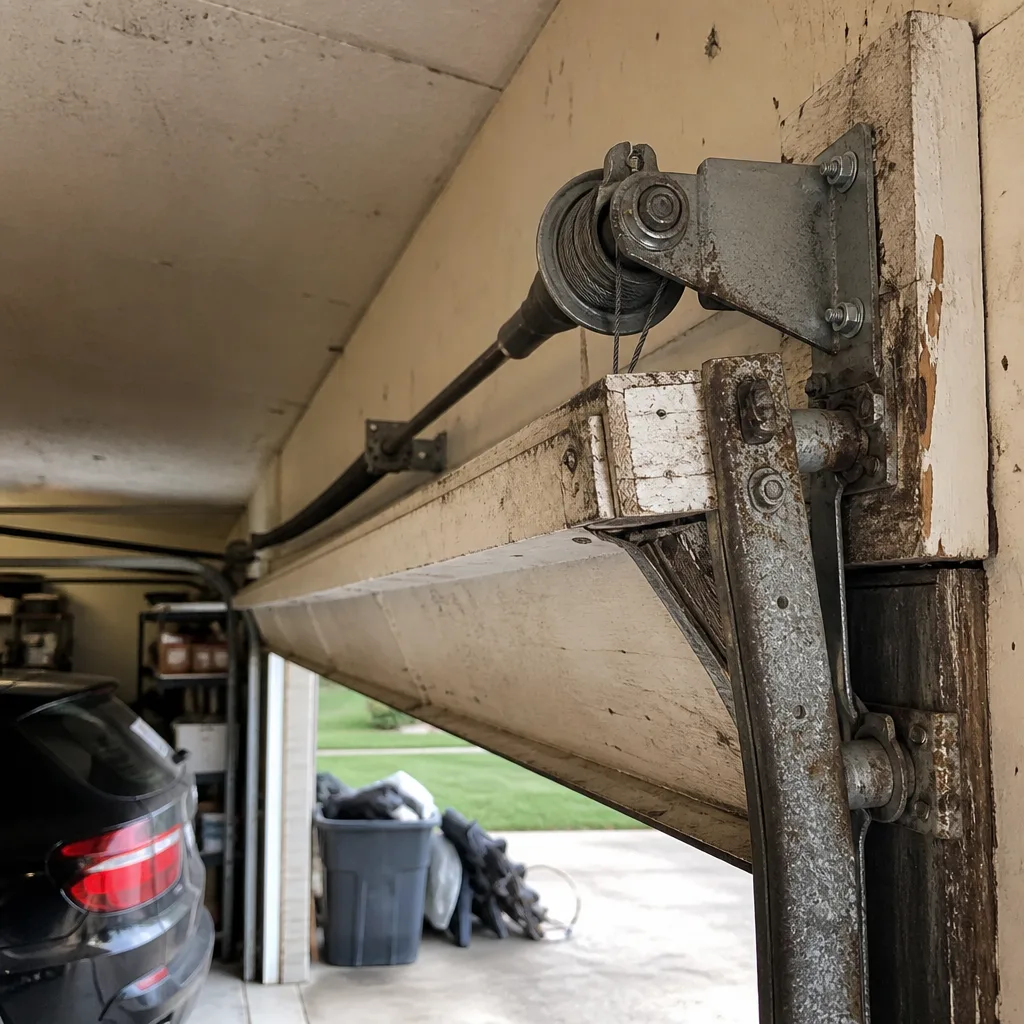 Before
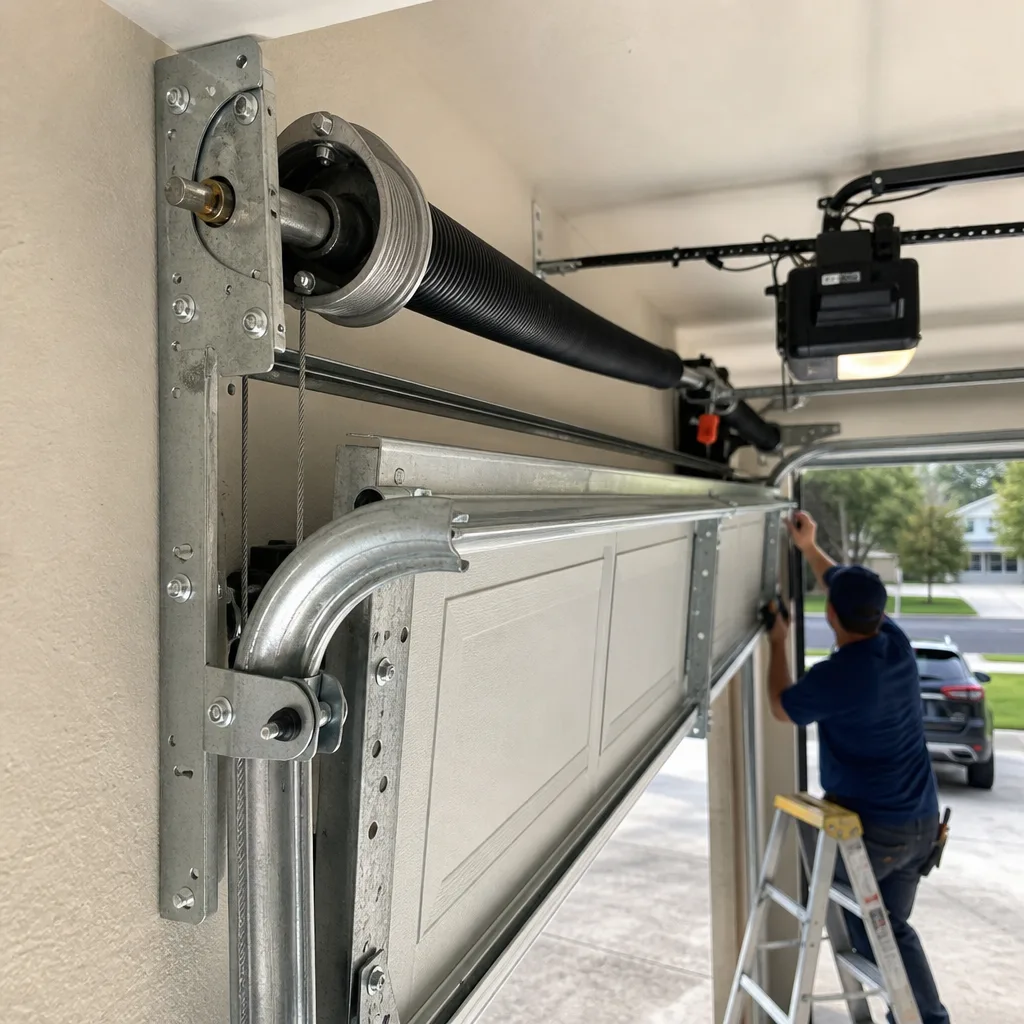 After
After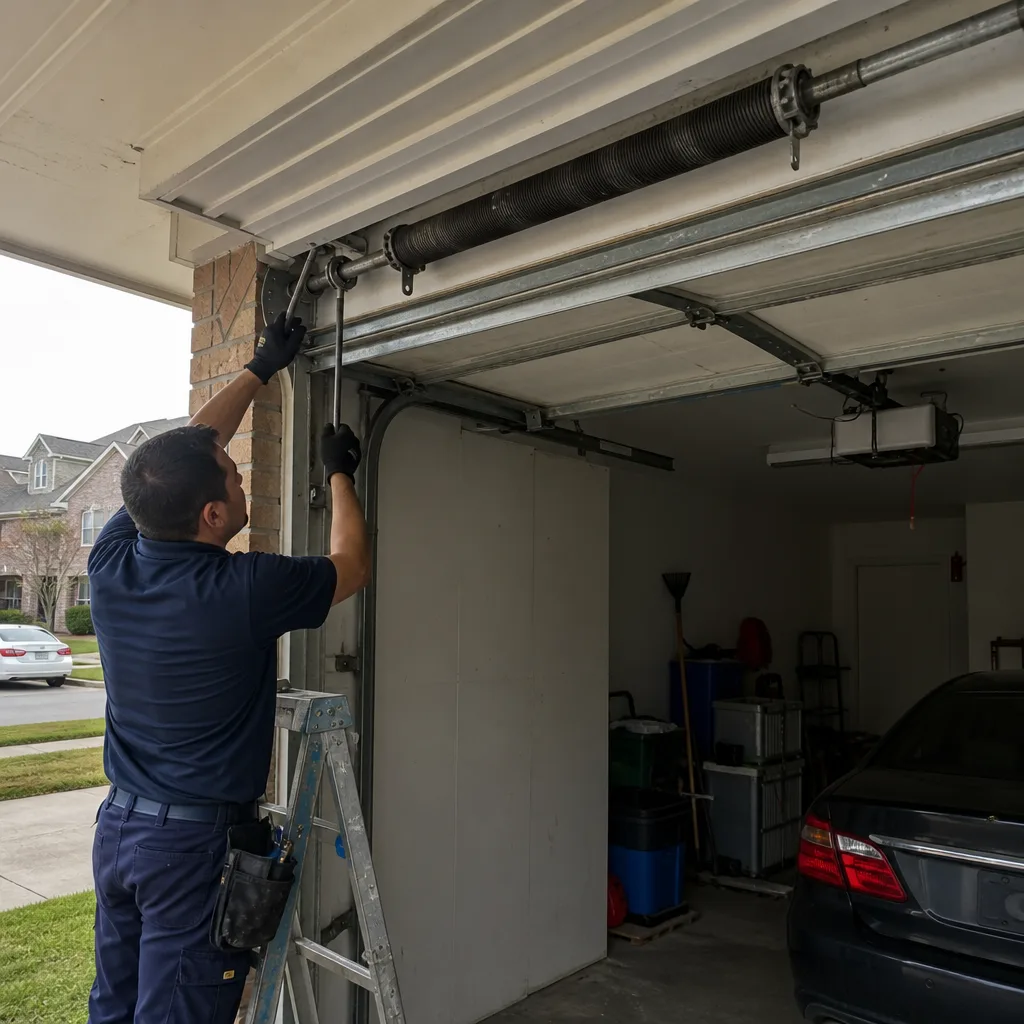 Before
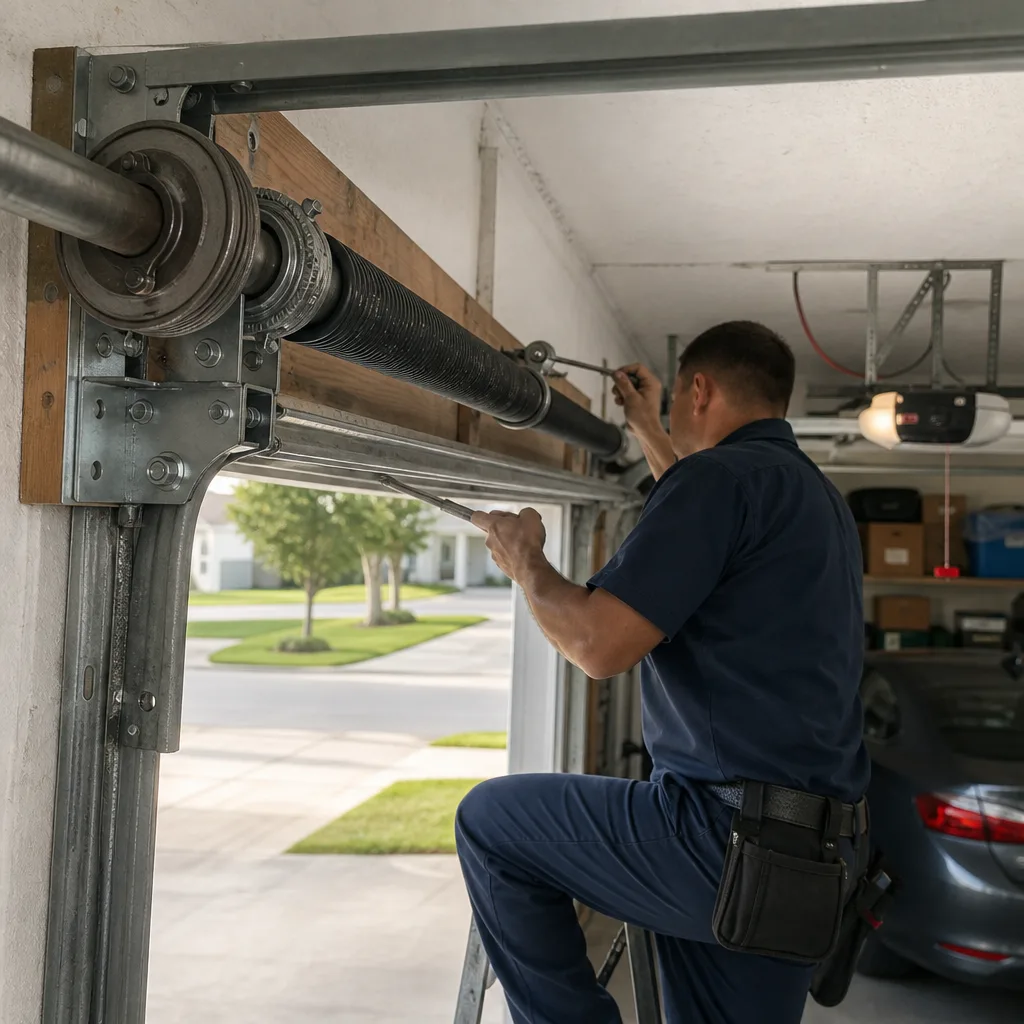 After
After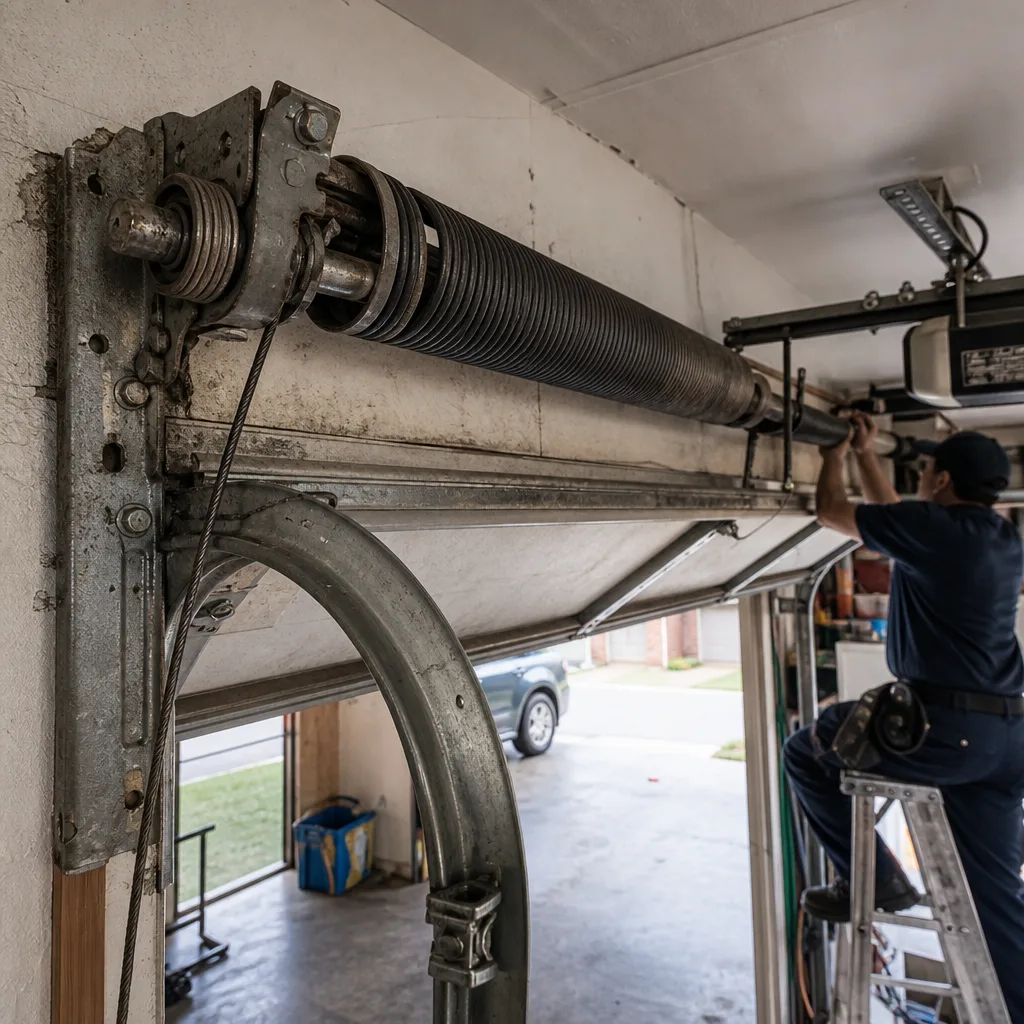 Before
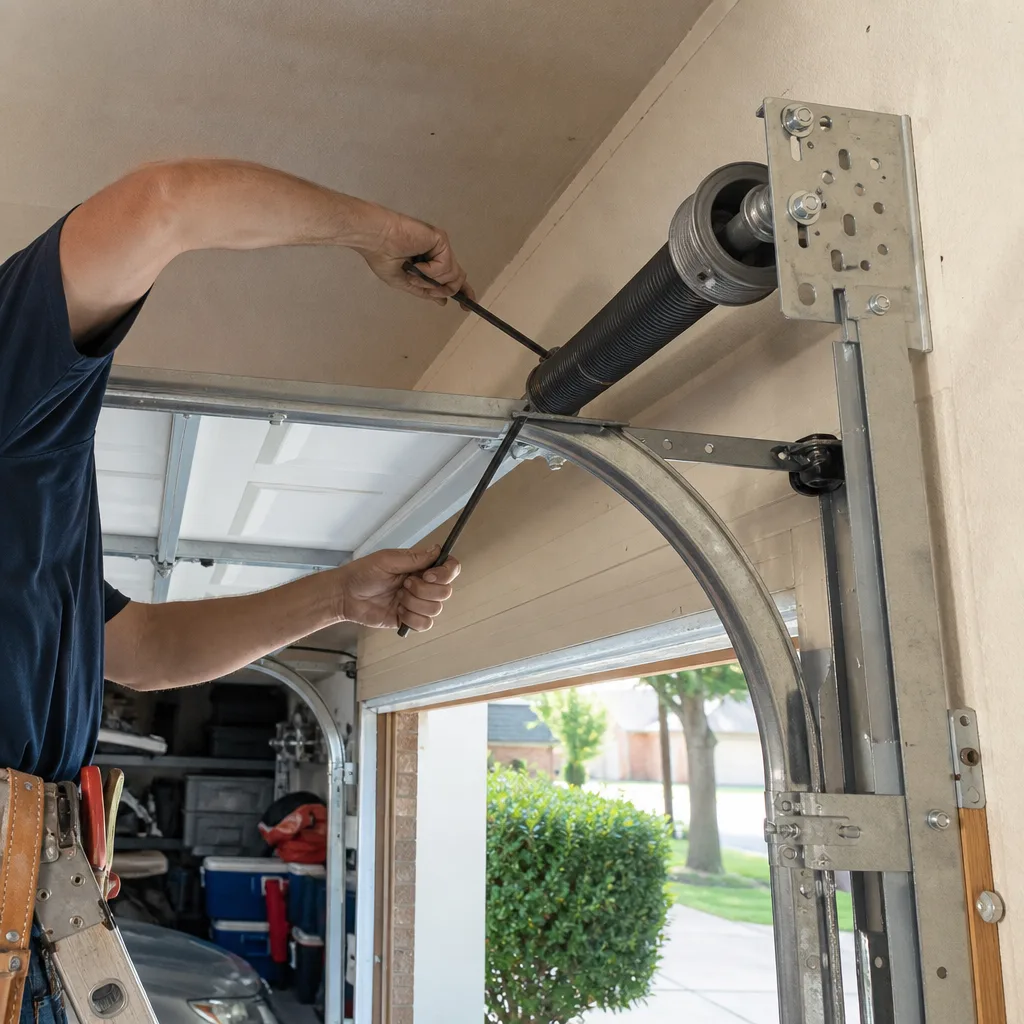 After
AfterDIY vs Professional Garage Door: The Richmond Homeowner’s Decision Guide
A garage door torsion spring stores enough energy when wound to send a wrench across a garage at lethal velocity. That is not a metaphor for caution. It is the actual physics of why this is the one residential repair where the DIY calculus is different from everything else around the house.
In Richmond, we’ve spent 42 years watching capable homeowners - electricians, welders, even general contractors - draw the wrong line on what they can handle safely. This guide draws that line clearly. You will learn which tasks match your skill level, which ones require spring-specific training and tools, how Richmond’s humidity and clay soil shift the math on panel replacement, and what to do in the 20 minutes before a technician arrives to save diagnostic time without touching anything that could drop 200 pounds of steel.
Quick Answer
Most Richmond homeowners can safely handle weatherstripping, sensor alignment, lubrication, opener programming, and cosmetic panel touch-up. Any work involving springs, cables, tracks, or counterbalance systems requires a trained technician with winding bars and spring-specific tools. The cost gap between DIY parts and professional flat-rate repair narrows significantly once you factor in the probability of a callback and the risk of collateral damage from incorrect spring winding, as detailed in our Garage Door Cost Breakdown: The Richmond Homeowner’s Reference for 2026.
Table of Contents
- The Physics That Changes Everything
- What You Can Safely Do vs. What Requires a Pro
- Why Even Experienced Contractors Don’t Touch Torsion Springs
- Honest Cost Comparison: DIY Parts vs. Professional Repair
- How Richmond’s Climate and Soil Affect the Decision
- What to Do in the 20 Minutes Before a Tech Arrives
- Common Mistakes to Avoid
- When to Call a Professional
- Frequently Asked Questions
- The Bottom Line
The Physics That Changes Everything
Every other DIY project in your house operates on a simple principle: if you make a mistake, you fix the mistake. Miswire an outlet, you trip a breaker. Cut trim short, you buy another board. The garage door is the exception because the stored energy in the system does not care about your intentions.
A standard 16-foot steel garage door weighs between 150 and 250 pounds. The torsion spring above the header carries that entire weight so your opener only needs to supply 10 to 15 pounds of force to move it. When the spring is wound to working tension, it stores roughly 1,200 to 2,000 foot-pounds of rotational energy. Release that energy suddenly - by cutting a cable, removing a winding cone without bars in place, or using the wrong tool on the set screws - and the spring unwinds in a fraction of a second. The door drops. The spring can break free of its mounts. Tools become projectiles.
This is not theoretical. We have replaced doors in Richmond’s Pecan Grove and Aliana subdivisions where a homeowner’s spring attempt ended with the door crashing into a vehicle, a storage shelf, or the concrete floor itself. The physics do not discriminate by skill level. They respond only to whether the energy was controlled or released.
The corollary is what most guides miss: the components that are genuinely safe for homeowner maintenance are the ones with no stored energy. Weatherstrip has no spring tension. Photo-eye sensors run on low-voltage wiring. Lubrication points are accessible with the door closed and the opener disconnected. The line is not “complicated versus simple.” It is “stored energy versus no stored energy.”
What You Can Safely Do vs. What Requires a Pro
Here is the matrix we use when Richmond homeowners call and describe their situation. We have refined it over four decades of field calls.
Safe for Capable Homeowners
- Weatherstrip replacement: The vinyl or rubber seal along the bottom and sides of the door attaches with screws or slides into a retainer channel. No tension-bearing components involved. Cost: $15-$40 in parts, 30-45 minutes.
- Photo-eye sensor alignment: The two small boxes near the floor transmit an invisible beam. If the LED indicator shows misalignment, loosen the wing nut, point both units directly at each other until both LEDs glow steady, and retighten. Clean lenses with a dry cloth. Common issue in Richmond after heavy rains shift the brackets.
- Lubrication of moving parts: Use a silicone-based spray or white lithium grease on rollers, hinges, and the opener rail. Do not lubricate the track itself - that attracts grit. Disconnect the opener first, run the door manually to distribute. Takes 20 minutes, extends component life significantly.
- Opener remote and keypad programming: Chamberlain, Genie, and most major brands publish clear sequences in their manuals. The “learn” button on the motor unit initiates pairing. No physical force required.
- Cosmetic panel touch-up: Automotive touch-up paint or a rust-inhibiting primer on surface scratches. Does not affect door balance or operation.
- Manual release rope operation: The red handle hanging from the opener trolley disengages the door for manual operation during power outages. Every homeowner should test this quarterly.
Requires a Trained Technician
- Torsion or extension spring replacement: Requires winding bars inserted into the cogs of the winding cone, specific knowledge of IPPT (inch-pounds per turn) for the door weight, and the physical strength to add or release tension in controlled quarter-turn increments. Wrong winding causes immediate door imbalance, cable derailment, or spring failure within days.
- Cable replacement: Cables are under full door weight tension when the spring is wound. A slipped cable whips with force sufficient to lacerate. Proper cable drum winding pattern is door-specific.
- Track replacement or realignment: Vertical and horizontal track positions determine door plumb. A 1/4-inch misalignment at the top translates to binding or roller pop-out at the bottom. Requires laser level or plumb bob and understanding of headroom constraints.
- Counterbalance adjustment: The spring tension must precisely match the door weight. Too little tension strains the opener and creates a falling hazard. Too much tension prevents the door from staying closed or damages the opener gear set.
- Panel replacement on sectional doors: Requires releasing spring tension, removing cables, extracting the damaged panel, installing the replacement with proper hinge alignment, and re-tensioning. The new panel must match the original gauge and insulation value or the door balance shifts.
The pattern is consistent. If the task requires releasing or adjusting the spring/cable system that carries the door’s weight, it belongs to someone with spring-specific training. Everything else is maintenance.
Why Even Experienced Contractors Don’t Touch Torsion Springs
We have arrived at Richmond homes where the homeowner is a commercial electrician, a pipefitter, or a retired oilfield mechanic. They have rebuilt engines, wired subpanels, and worked at height on industrial sites. They looked at the torsion spring and decided to call us. That is not failure of confidence. It is recognition that torsion spring work is its own trade.
Here is what general contracting experience does not teach you:
- Winding bar technique: Proper bars are solid steel, 18 inches long, 1/2-inch diameter, inserted fully into the winding cone. Vise grips, screwdrivers, or socket extensions substitute poorly and slip under load. The bar must be held firmly while the set screws are loosened, then used to add or release tension in quarter-turn increments. Two bars alternate - one in the cone, one ready to insert - so the tension is never unsupported.
- Spring specification: The spring must match the door weight, drum type, track radius, and cable length. A spring wound for a standard-lift door will fail prematurely on a high-lift conversion. The wire size, inside diameter, and length are stamped on the spring but interpreting them requires a spring chart or software. We carry over 200 spring combinations on our trucks because Richmond’s housing stock spans 40 years of construction with varying door specifications.
- Failure mode awareness: An incorrectly wound spring does not always fail immediately. It may function for days or weeks, then break at full extension - typically when the door is rising, with maximum kinetic energy in the system. The homeowner is standing in the doorway, often with a vehicle underneath.
- Tool investment: Winding bars, spring winding tools, cable pullers, and torsion spring winding charts cost $200-$400 for a basic set. Used once every several years, the amortization does not make sense against a flat-rate professional repair.
In our experience, the homeowners who attempt torsion spring work fall into two categories: those who recognize the danger partway through and call us to finish, and those who complete the job but create a latent failure we discover later during an unrelated service call. Neither category saves money in the long term.
Honest Cost Comparison: DIY Parts vs. Professional Repair
The internet makes torsion springs look cheap. A pair of springs for a standard 16-foot door runs $60-$120 online. The temptation is to compare that to a professional repair quote of $180-$340 and conclude DIY saves $200. That comparison omits several line items.
| Cost Factor | DIY Attempt | Professional Repair (Mainspring) |
|---|---|---|
| Spring pair | $60-$120 | Included in flat rate |
| Winding bars & tools | $40-$80 (if purchased) | Not needed |
| Callback probability | 30-40% for first-time DIY (our field estimate) | Covered by 90-Day Done Right Promise |
| Collateral damage risk | Cable replacement ($40-$60 parts), panel damage ($200-$800), opener gear strain ($150-$400) | Technician assumes liability |
| Time investment | 3-6 hours first attempt, plus research | 45-90 minutes |
| Diagnostic accuracy | Homeowner may replace spring when cable or drum is actual fault | Full system inspection included |
| Total realistic cost range | $100-$600+ depending on outcome | $180-$340, price stated upfront |
The honest math: if your DIY attempt succeeds perfectly on the first try, you save roughly $100-$150. If it requires a callback, a cable replacement, or any collateral damage, you have spent equal or more money and significantly more time. The probability-weighted expected cost converges with professional repair, while the risk tail - injury, door replacement, vehicle damage - remains exclusively on the homeowner’s side.
Our Garage Door Repair in Richmond service includes full system inspection, correct spring specification, and the 90-Day Done Right Promise. The price is stated before any work begins. No surprises on the bill.
How Richmond’s Climate and Soil Affect the Decision
Richmond sits on the Gulf Coastal Plain with heavy clay soils that expand and contract dramatically with moisture. This affects garage doors in ways that generic DIY guides do not address.
Foundation shift and door alignment: In neighborhoods like Long Meadow Farms and Riverpark West, we regularly see garage slabs shift 1/8 to 1/4 inch seasonally. A door that operated smoothly in March binds by August. The DIY response - lubricating the track or adjusting the opener force settings - masks the symptom while the opener motor strains against a misaligned door. The correct fix requires track realignment to the shifted slab, which means releasing spring tension and re-plumbing the vertical tracks. That is pro work.
Humidity and panel replacement complexity: Richmond’s average relative humidity exceeds 70% for much of the year. Steel doors sweat. Insulated sandwich panels trap moisture at the seams. When a homeowner replaces a single damaged panel, the new section must match not just the gauge and profile but the original factory seal. A mismatched panel creates a thermal bridge where condensation forms, accelerating rust on the internal hardware. We see this in Richmond’s older homes near the historic district, where original Clopay or Amarr doors from the 1990s have been patched with off-brand panels that do not seat properly.
Wind load requirements: Fort Bend County requires wind-rated garage doors in new construction and replacement installations. A DIY panel swap on a wind-rated door may void the certification if the replacement panel is not from the original manufacturer or if the hinge spacing is altered. This matters for insurance compliance and resale inspection.
Opener environment: The heat and humidity in an uninsulated Richmond garage stress opener electronics. A homeowner programming a replacement remote may not recognize that the opener’s logic board is failing intermittently due to capacitor degradation - a condition we diagnose with a multimeter and temperature load test. The symptom looks like a programming issue. The cause is hardware failure.
These factors do not make every DIY task impossible. They make the diagnostic phase harder. A binding door in Richmond is more likely to be foundation-related than in a region with stable sandy soils. A rusting panel is more likely to indicate a seal failure than simple age. Local knowledge accumulates over decades of seeing the same patterns.
What to Do in the 20 Minutes Before a Tech Arrives
When you call Mainspring Garage Door Co. home, we aim to dispatch quickly. In the interval before arrival, there are safe steps that reduce diagnostic time and often reduce the final bill. These steps touch nothing load-bearing.
- Disconnect the opener: Pull the red release handle to put the door in manual mode. This prevents accidental opener activation while the door is in an unknown state.
- Secure the door in the closed position: If a spring is broken, the door is heavy and may drift downward. Place a sturdy object like a step ladder or cinder block under the bottom edge as a physical stop. Do not rely on the opener to hold it.
- Clear the area: Move vehicles, bicycles, and storage items away from the door path and at least 3 feet back from the overhead tracks. This gives the technician clear access and protects your property if the door must be moved during inspection.
- Note the symptoms: Write down when the problem started, any sounds you heard (bang, grinding, squeal), whether the door was opening or closing, and whether the opener light flashed a code. Chamberlain and Genie openers flash specific patterns for specific faults. This history saves 10-15 minutes of diagnostic time.
- Photograph the hardware: Take clear photos of the spring assembly, cable condition, and any visible damage. If a spring is broken, photograph the gap location. This lets the technician confirm parts needed before arriving, ensuring the repair completes in one visit.
- Do not touch the spring, cables, or bottom brackets: These components are under tension or carry door weight. The preparatory steps above are complete. Anything further requires training and tools.
These steps typically save $20-$40 in diagnostic labor and ensure we arrive with the correct parts. Our trucks carry springs, cables, openers, and hardware for all major brands, so most Richmond repairs finish in a single visit.
Common Mistakes to Avoid
- Using a screwdriver as a winding bar: We have seen this in Richmond homes more often than we care to count. A screwdriver shaft is round, hard to grip under torque, and prone to camming out of the winding cone. The result is a sudden release of spring tension and an emergency room visit. Winding bars are solid steel, specific diameter, and cost $15. There is no substitute.
- Replacing only one spring on a two-spring door: Matched spring pairs wear together. Installing one new spring with one old spring creates imbalance, premature failure of the new spring, and erratic door travel. The correct practice is replacing both, with matched specifications.
- Ignoring cable condition when replacing springs: Cables fray from the inside out. A cable that looks acceptable externally may have 40% of its strands broken internally. Winding a new spring onto degraded cables invites failure within months. Professional replacement includes cable inspection and replacement when indicated.
- Adjusting track without checking plumb: In Richmond’s clay-soil environment, a door that binds is often reacting to slab shift. Bending the track to accommodate binding masks the root cause and creates roller wear. The track must be plumb to the shifted slab, not to theoretical level.
- Applying garage door lubricant to the track: Lubricant on the vertical and horizontal tracks attracts dust and grit, forming an abrasive paste that accelerates roller and track wear. Tracks should be clean and dry. Lubrication belongs on hinges, rollers, and the opener rail.
- Programming a new remote without testing the opener’s logic board: In Richmond’s humid garage environment, intermittent opener failure often precedes total logic board failure. A homeowner who buys and programs three remotes before discovering the board is failing has spent money on the wrong component. Test the board with the wall button first - if the wall button operates inconsistently, the issue is the opener, not the remote.
When to Call a Professional
Call a technician when the problem involves springs, cables, tracks, counterbalance, or any condition where the door does not stay put when released at mid-travel. Call when you have attempted safe DIY steps and the symptom persists. Call when the door makes a loud bang and now feels heavy, or when the opener strains but the door barely moves.
In Richmond, Mainspring Garage Door Co. offers free estimates with upfront flat pricing. Our technicians arrive with the parts to complete most repairs in one visit. The 90-Day Done Right Promise covers every job in writing. If you are uncertain where your situation falls on the safe-DIY spectrum, call us at (936) 278-3457 and describe what you see. We will tell you straight whether it needs a truck roll or if you can handle it yourself.
Frequently Asked Questions
Standard torsion spring replacement in Richmond typically runs $180-$340 for a two-car door, including both springs, cables if needed, and full system balance adjustment. Mainspring states the flat price before any work begins. Call (936) 278-3457 for an exact quote - estimates are free.
Opener replacement is mechanically straightforward but electrically and structurally precise. You will need to secure a header bracket to structural framing above the door, wire the unit to a dedicated outlet or hardwire connection, set the travel limits and force sensitivity, and program remotes. The risk is not injury but improper installation that strains the door or creates a safety hazard. If you are comfortable with basic carpentry and electrical work, a straightforward replacement on a standard 7-foot door is feasible. High-lift doors, jackshaft openers, or installations requiring new wiring are better left to a technician.
Standard torsion springs are rated for 10,000 cycles (roughly 7-10 years of typical use). Premature failure usually indicates incorrect spring specification at original installation, rust from Richmond humidity degrading the wire, or the door being heavier than specified due to added insulation or hardware. A proper replacement includes measuring the actual door weight and specifying the correct spring for that load.
No. At Mainspring, the price quoted after inspection is the price on the invoice. We do not charge more if the repair takes longer than expected or if additional wear is discovered. The only price change occurs if you request additional work beyond the original scope. That agreement is made before any additional work begins.
Yes. Our Richmond service trucks stock torsion springs in over 200 size combinations, cables, drums, rollers, hinges, weatherstrip, and openers from Chamberlain, Genie, and other major brands. Most repairs are completed in a single visit without waiting for parts.
Yes. Mainspring offers a permanent 5% discount for seniors and veterans, applied to any repair or installation service. We also offer $50 off any repair over $250, a free second opinion on any written estimate, and an $89 seasonal tune-up. These are standing offers, not limited-time promotions.
The Bottom Line
The DIY versus professional decision for garage doors is not about your general competence. It is about whether the specific task involves controlled release of stored energy that can injure you or damage your property. Weatherstrip, sensors, lubrication, and opener programming are within reach of most Richmond homeowners. Springs, cables, tracks, and counterbalance systems are not.
When the task is pro-level, the cost gap between DIY and professional repair narrows once you account for tools, callback risk, and collateral damage. The 90-Day Done Right Promise, upfront pricing, and single-visit completion from a stocked truck remove the uncertainty that makes homeowners consider DIY in the first place.
We have been in Richmond since 1984. We answer the phone with a live person, 24/7. We will be there when we say, state the price before the wrench comes out, and stand behind every job in writing. That is a square deal. It is also the reason most of our customers never have to think about their garage door again.
Written by Carl Dutton, Owner at Mainspring Garage Door Co., serving Richmond since 2016.